How to Install and Remove a Bushing

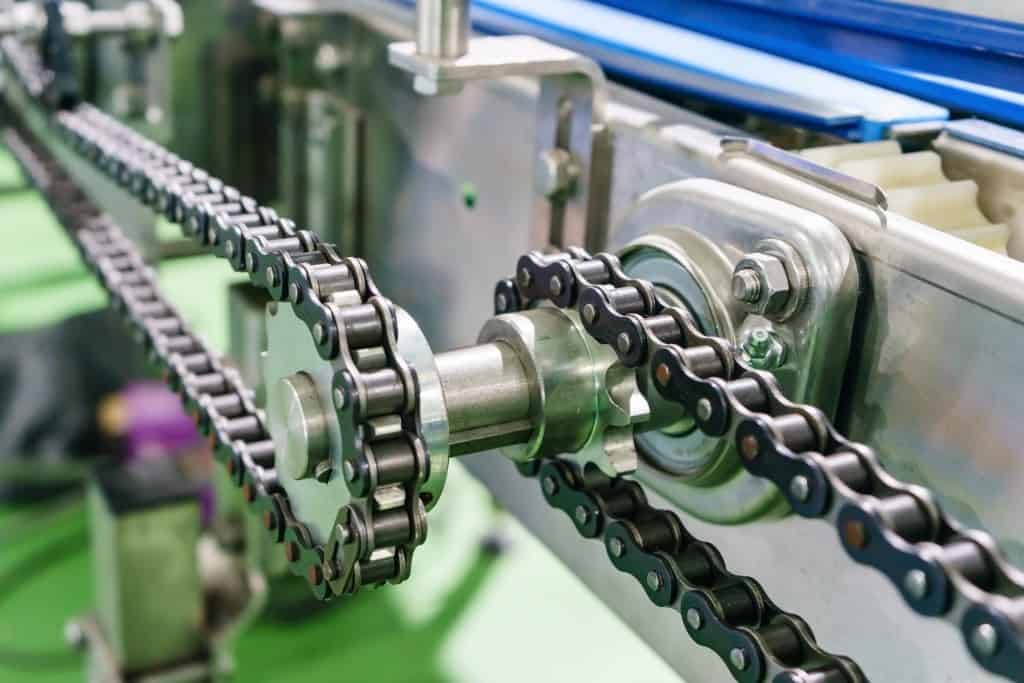
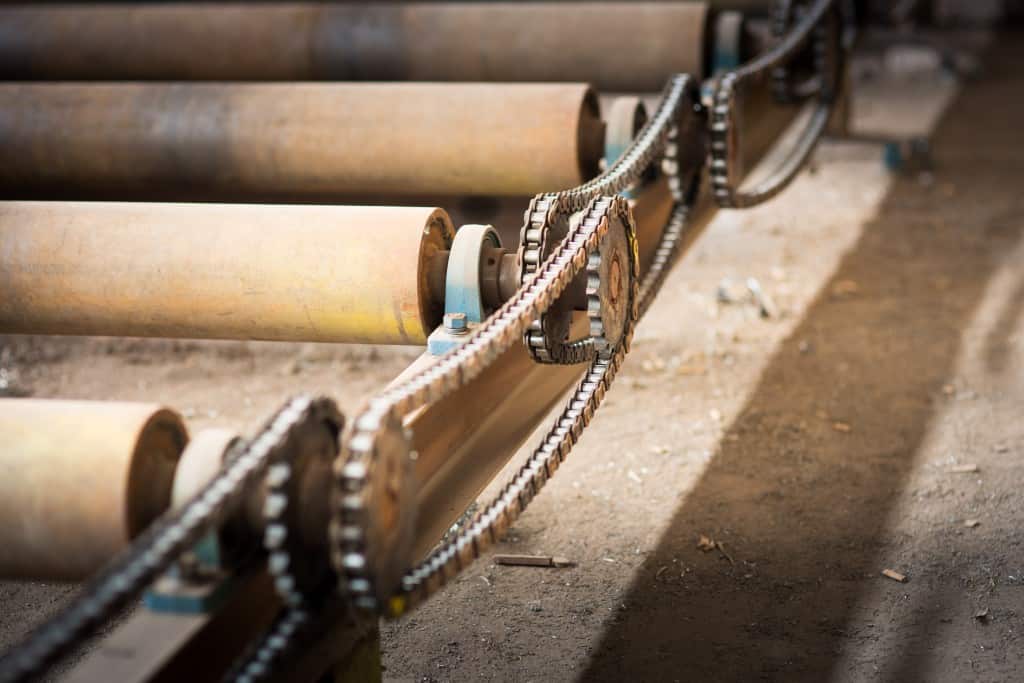
Bushings are an indispensable component of power transmission, allowing for a flexible drive system. The simple system to install and remove a bushing allows us to quickly change sprockets, sheaves, and pulleys – among other things – from one shaft size to another. They also allow us to make modifications quickly and efficiently. Some specialty bushings even accommodate splined or keyless shafts.
Whether through regular maintenance or the replacement of its companion item, proper installation of a bushing can affect all other components within the drive. Incorrect installation can cause excessive vibrations, increased run-out, or breakage of the mating part, inevitably damaging components and the shaft it engages. At this point, increased downtime and – if the mating shaft is harmed – potentially bigger and costlier issues arise.
Let’s outline the steps you’ll need to take to install split-taper, QD, and taper-lock bushings properly, and then discuss a straightforward removal process you can execute quickly.
Time to prepare your bushing
Please note: NEVER USE ANTI-SEIZE DURING INSTALLATION
Use of anti-seize leads to bushings seating deeper within the mating part, leading to breakage of the mating part.
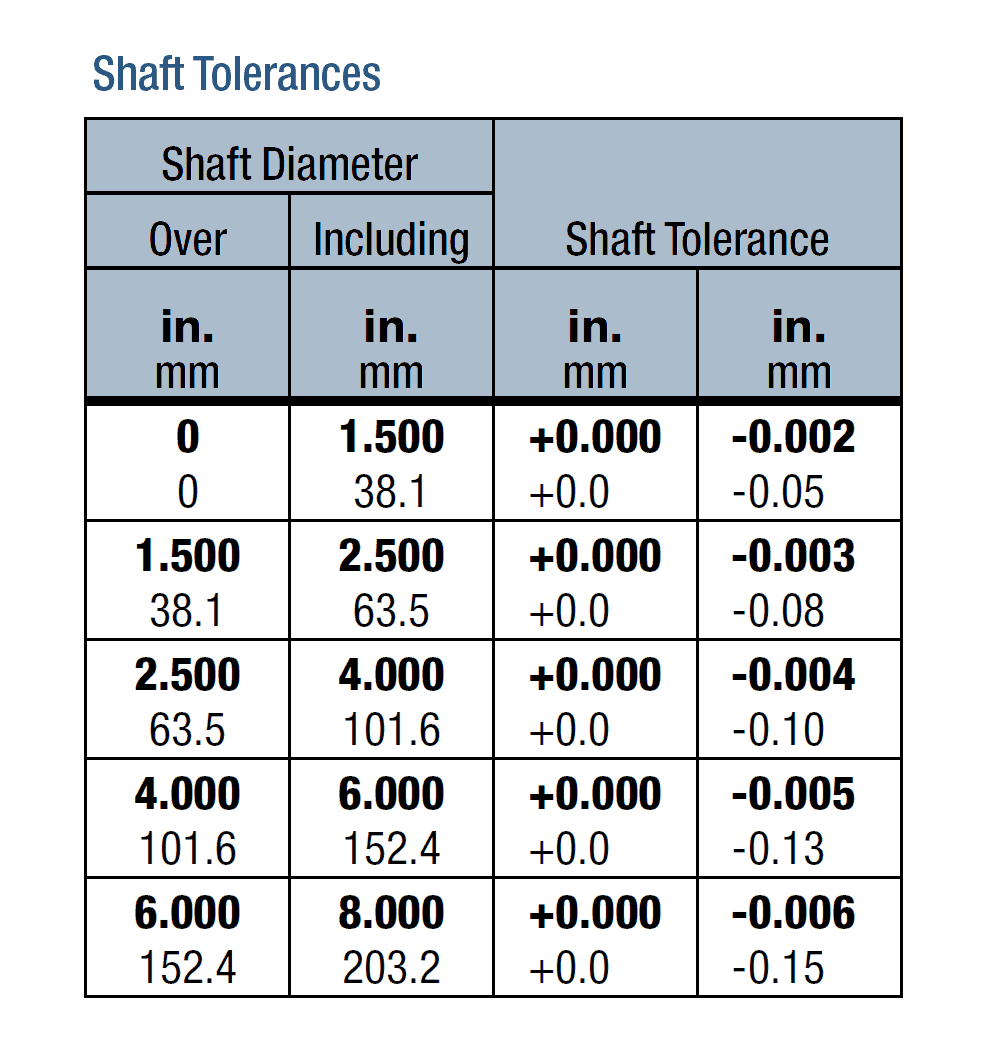
Begin by confirming that your shafting is within tolerance. You can do this by consulting the table below:
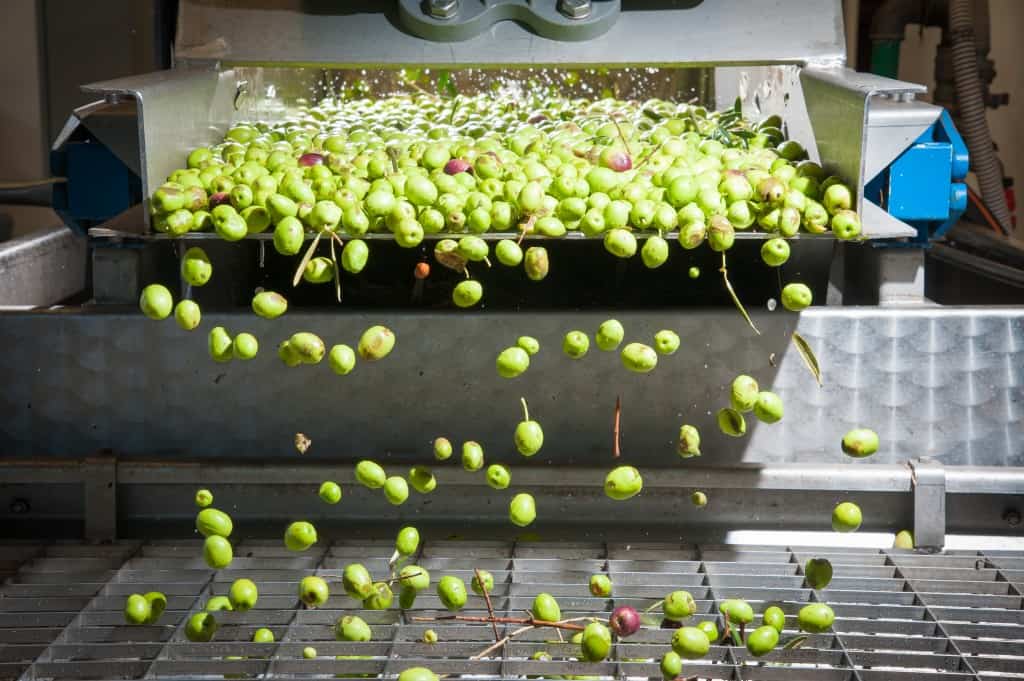
It’s essential to clean all involved parts thoroughly: the shaft, the bushing bore, and OD, as well as the component bore (that of your sprocket or sheave). As mentioned above, bushings work through friction and force, so foreign matter on any of these surfaces will inhibit the ability to work correctly. Remove all dust, dirt, paint, oil, and grease.
Installation of your bushing
Follow these steps for proper installation:
- Insert the bushing into the component hub and align the bushing’s non-threaded holes to its counterpart’s threaded ones. The threaded holes on the bushing will be utilized during removal. *QD bushings can be mounted two ways, standard or reverse mount.*
- Insert the bolts through the bushing’s non-threaded hole then thread into your counterpart by hand, leaving the assembly loose.
- Install the key onto the shaft and mount assembly as desired. Tighten the set-screw over the key to keep it in place once final drive alignments are complete.
- Alternate tightening your bolts gradually until specific torque values are reached. This progressive tightening allows the bushing to seat correctly and squarely.

Please note: A GAP SHOULD REMAIN AT ALL TIMES BETWEEN COMPONENT HUB AND (QD/SPLIT-TAPER) BUSHING FLANGE
THE FOLLOWING STEPS ARE FOR TAPER-LOCK BUSHINGS ONLY:
- On bushings 3535 and larger, drive the bushing into the hub using a rubber mallet and block. Switch between tightening the screws and hammering the bushing until the torque on the screws is the same before and after hammering.
- Fill all unoccupied holes with grease to exclude contaminants and reduce corrosion. This is a preventative measure rather than a performance-related one.
Easy bushing removal
The first step in removal is to loosen and remove all screws or bolts from your assembly. Once separated, take and thread them into the removal holes in the bushing. Alternately tighten to remove the bushing. If either the QD or split-taper bushing is challenging to remove, place a wedge between the bushing flange and component hub.
Common mistakes during installation
- Over-torquing bushing hardware. Mentioned above, by using a torque wrench, you’re applying the exact torque required to mount a bushing to its mating part accurately. Otherwise, the potential to over-torque is very real and may cause a failure.
- Using an anti-seize compound or lubricant on mounting surfaces or hardware. Similar to over-torquing, using either of these will cause the bushing to seat deeper within the mating part, putting increased stress on both components.
- Swapping the split washer for a flat washer. Split washers allow some bite into the fastener and the bushing, preventing the bolt from backing out. Flat washers do not provide this benefit.
- Not progressively tightening bushing hardware. By fully torquing one bolt, instead of alternately and increasingly tightening, this causes the bushing to become inaccurately seated within the mating part. This causes misalignment and will affect efficiency, as well as damaging any number of components.
Are you getting long-lasting performance from your PT components? Learn more about BlackStar and improve reliability.
Sort by category: Installation & Maintenance
Sort by topic: BlackStar, Bushing, Maintenance, Power Transmission
Don't miss an article.